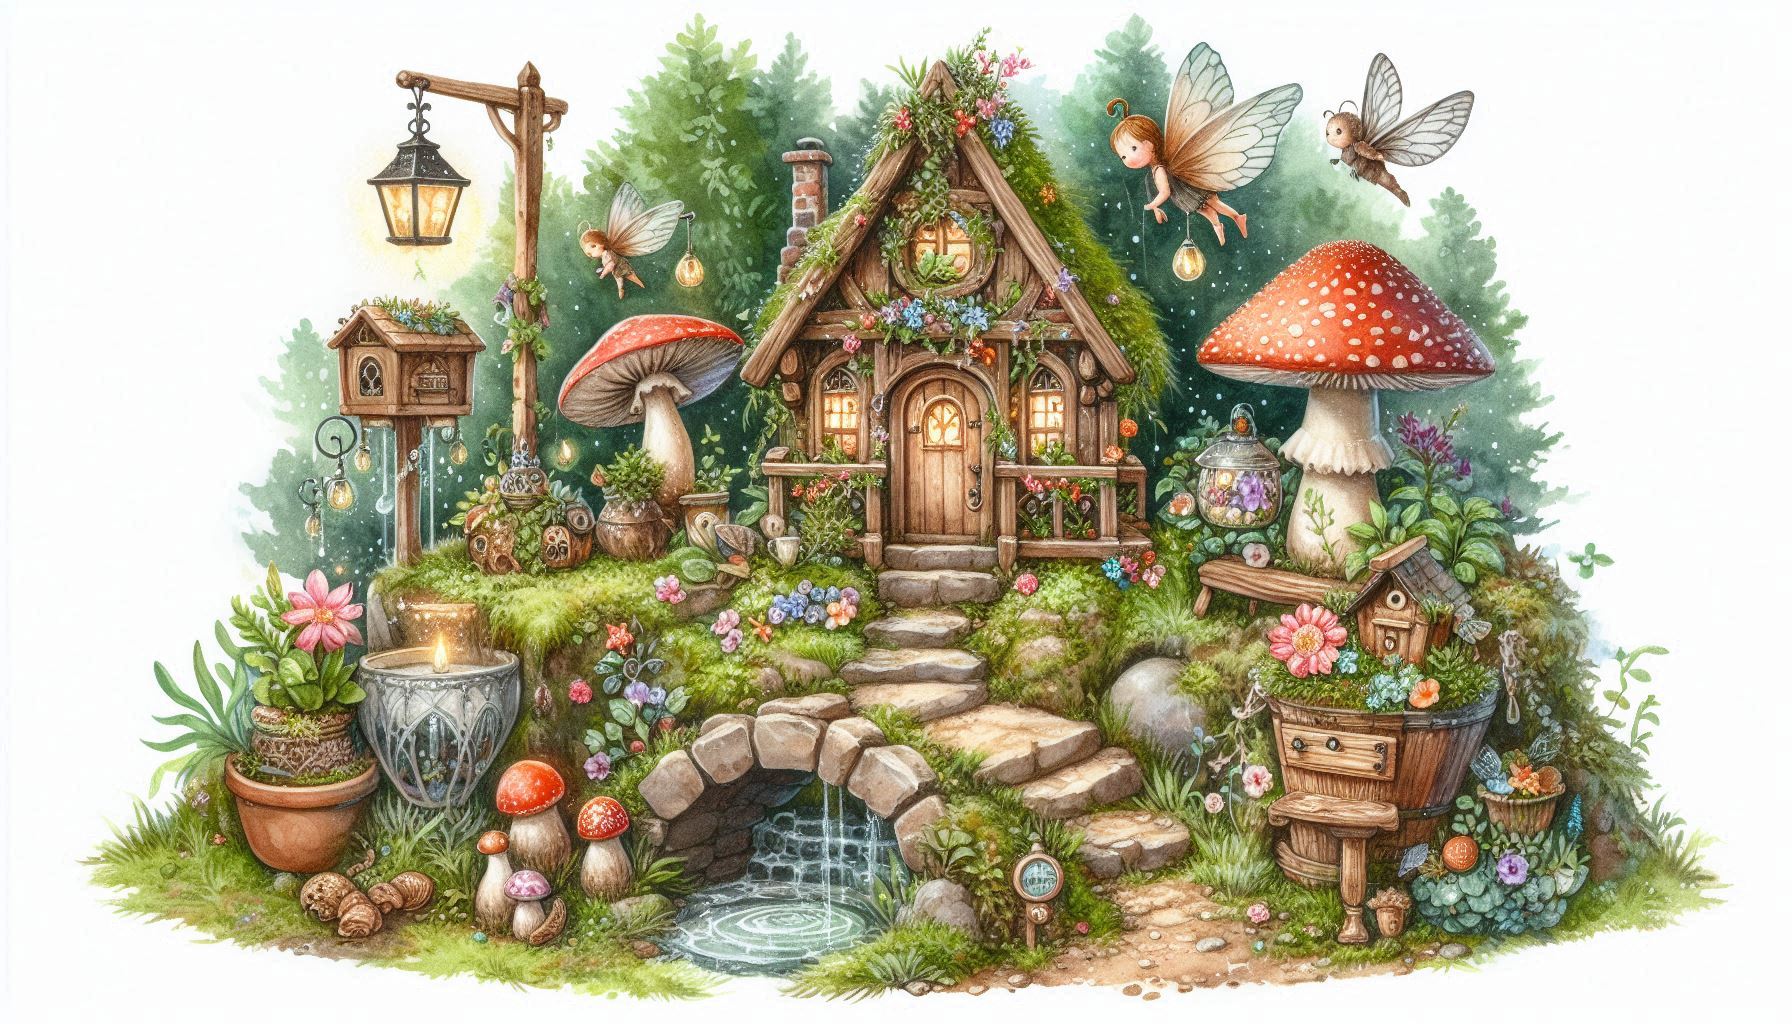
Have you ever dreamed of creating your own little magical world right in your backyard or balcony? Well, welcome to the whimsical world of fairy gardens! These tiny enchanted spaces are not just fun to make, but they also bring a sprinkle of magic and joy to your everyday life. Whether you’re a seasoned gardener or a complete newbie, you can create your very own fairy garden with just a few simple steps. Let’s take a journey together and discover how to make one that will make your heart flutter with delight.
Table of contents
Why Create a Fairy Garden?
Fairy gardens are a charming way to let your creativity run wild. They’re great for:
- Adding magic: Who doesn’t want a touch of wonder and enchantment in their life? Fairy gardens create a magical space that feels like a secret world.
- Relaxation: Building and maintaining a fairy garden is a soothing activity. It’s like a mini escape into a calm, peaceful place.
- Engaging the kids: This is a perfect activity to do with children. Their imaginations soar while crafting this magical world.
- Creative expression: Your fairy garden can be whatever you want it to be. There’s no right or wrong way – just your personal style!
Step 1: Pick the Perfect Spot
Fairies love places that are cozy and hidden away, so start by picking a sweet little spot. It could be a corner of your garden, a spot on your patio, or even a small pot on your windowsill. Anywhere that feels special to you can become a magical home for fairies. Just make sure your spot gets a bit of sunlight and is safe from heavy rain or wind (fairies don’t like being disturbed by bad weather!).
If you’re creating an outdoor fairy garden, make sure it’s in a sheltered area. If you’re doing it indoors, you can create a mini garden in a pot or tray.
Step 2: Choose Your Container (If Indoors)
If your garden is going to be indoors or small, you’ll need a container. This could be anything! An old wooden box, a large ceramic pot, or even a shallow dish. Fairies love unique homes, so don’t worry about being perfect – get creative. Just make sure there’s enough space for your plants, decorations, and, of course, the fairies.
Step 3: Gather the Materials

Now comes the fun part – gathering all the goodies! Here’s a basic list to get started:
- Soil: Fairies need a cozy bed to rest on, and rich garden soil will do just that.
- Plants: Think small, delicate plants. Moss, succulents, ferns, and tiny flowering plants work beautifully. Remember, fairies are tiny, so their surroundings should feel cozy and soft. Plus, plants add life to your fairy garden, making it feel like a real little world.
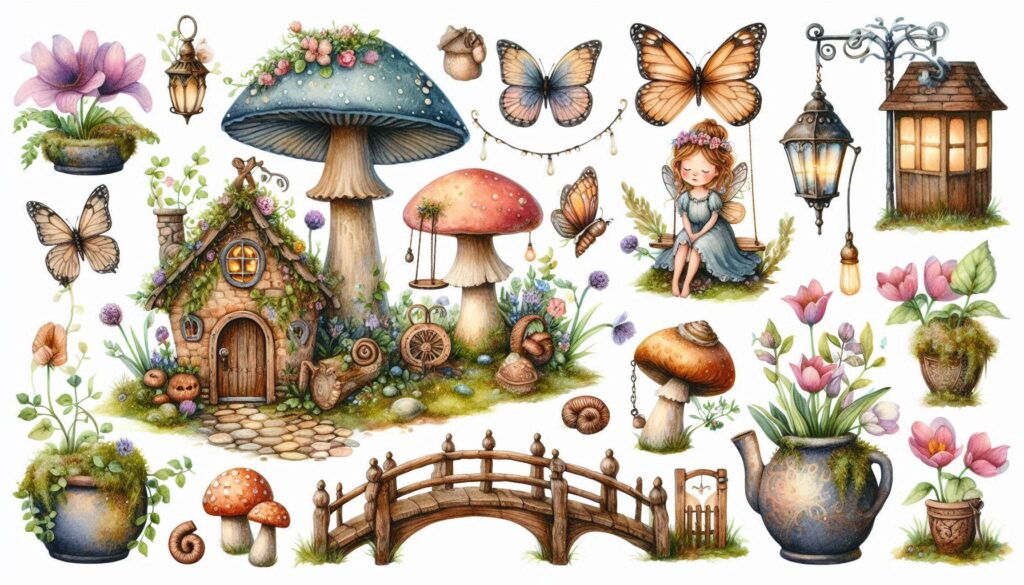
- Fairy Accessories: Time to get crafty! You can either buy little fairy houses, tiny bridges, and mushroom seats from craft stores, or you can make them yourself. Twigs, acorns, pebbles, and pinecones make amazing decorations.
- Stones or Pebbles: These are perfect for creating pathways, fairy patios, or even small rivers. Let your imagination run wild here!
- Fairy Figures: What’s a fairy garden without a fairy or two? You can find these online, in garden centers, or even make your own with a little creativity.
- Moss: Moss gives that enchanted, magical feel, perfect for any fairy garden. It’s soft, cushiony, and looks so dreamy.
Step 4: Start Building Your Fairy World
Alright, let’s bring your fairy garden to life! Follow these simple steps:
- Lay down the soil: Fill your container or garden space with soil. Make sure it’s smooth, but don’t worry about perfection – fairies love a natural look!
- Plant the greenery: Add your tiny plants to the soil. Think about where your fairy house or path might go, and plant around that area. It’s fun to leave some open space for fairy gatherings!
- Add pathways and accessories: Use small pebbles to create winding paths. Place a small house or little furniture in a cozy spot. This is where fairies will sit and sip their acorn tea! You can even add a tiny bench made from twigs or a mushroom seat for them to relax on.
- Make it magical: Sprinkle in the magic! Add glitter, fairy dust, or even tiny crystals to make your garden shine. Use moss to cover any bare spots and create a soft, magical forest floor.
- Add your fairy friends: Finally, place your fairy figures in the garden. You can even create a story about who they are and what they love to do in their tiny world. Don’t forget to welcome them to their new home!
Step 5: Care for Your Fairy Garden
Fairy gardens are like little ecosystems, so you’ll need to give them a bit of care to keep them happy. Water the plants regularly, but don’t overdo it – fairies like their homes cozy, not soggy! Trim back any overgrown plants to keep everything in balance. And, of course, keep an eye out for any new fairies who might want to join!
If you’ve made your garden outdoors, check on it every now and then to make sure no big leaves or debris are covering it up. For indoor gardens, a little watering every couple of weeks should do the trick.
Adding More Magic
Once your fairy garden is set up, the magic doesn’t have to stop there! You can keep adding to your fairy garden over time. A new fairy house, a tiny tea set, or even a little swing hanging from a plant can make the garden feel fresh and exciting again. The possibilities are endless.
Plus, this is a perfect opportunity to involve friends or family. Hosting a fairy garden-making day is such a fun way to get together and share some magic. You can swap ideas, trade fairy accessories, and see how everyone’s enchanted world turns out!
Final Thoughts: Welcome to Your Fairy World
Creating a fairy garden isn’t just about crafting a tiny magical space – it’s about bringing a sense of wonder and calm into your life. Every time you look at your little enchanted world, you’ll feel a spark of joy. And who knows? Maybe you’ll catch a glimpse of a fairy fluttering by.
So, gather your plants, pick up those tiny fairy doors, and let your imagination fly! You’re about to create something magical – and the fairies can’t wait to move in!


